Explosion Box
Supply List: Scor-Pal, Scor-Tape, Fancy Pants Designs Hopscotch Collection, Card Stock, Cheery Lynn Dies, Prima Flowers, KasierCraft Flowers, Stickles, Ink, Tags, Ribbon, Stamps
I don't know about you but I've always wanted to try an explosion box but I really thought they were to difficult. Funny how wrong one can be. This was actually pretty darn easy and so much fun to make. I'd love to show you how and hope you'll create your own little explosion.
Step 1: Cut two 9 inch card stock squares, cut one 5 1/8" square card stock
. Cut four 2 7/8" square designer paper, cut 8 2 3/4 square designer papers for interior
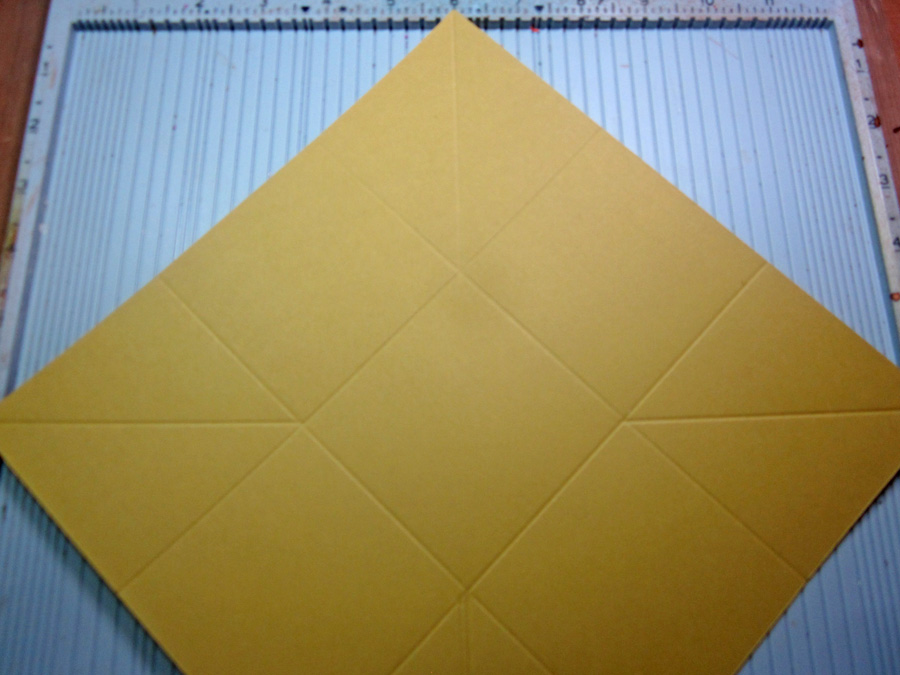
Step 2: Score one of your 9 inch squares at 3" and 6 ", turn your paper 90 degrees and score again at 3 " and 9". This will create a grid. You'll want to do this on both of your 9 inch card stock squares.
Step 3: Score each of your corner squares diagonally and fold. Fold inward as this is going to help create your box.
TIP: I find using the 6" mark on my Scor-pal makes this easy as there is a marking at the bottom of your Scor-pal that will help ensure you have it lined up correctly.
Step 4: Using your
Scor-tape apply your outside squares ( 2 7/8" ) to the base box.
Step 5: Cut four of your 2 3/4 squares in half and tape to inside of your explosion box along the ridges.
Step 6: On your second 9 inch square cardstock cut the outer corner squares off as shown above. Fold and crease.
Step 7: Tape your remaining square card stock pieces to the just cut cross/9 inch piece. You can also decorate the base center with designer card too.
Step 8: Score your 5 1/8" square at 1 inch on all sides. Cut a slit in where all the black marks are shown above. Fold and crease.
Step 9: Tape your flaps to the inside of the box top creating your top. Now the really fun part decorate as desired.